Pumpkin Bread/Cupcakes
I couldn’t decide whether to title this post “Pumpkin Bread” or “Pumpkin Cupcakes”. I made cupcakes using this recipe, but the cupcakes tasted to good on their own without icing that I feel it’d be an even better pumpkin bread recipe. While you can use store bought canned pumpkin I believe the homemade canned pumpkin I blogged about last week is critical to making this pumpkin recipe as moist as mine was. The store-bought canned pumpkin is far more dry than the homemade recipe. I got most of this recipe from diamonds for dessert and altered a few things.
Ingredients:
1 1/2 stick butter, softened
1 1/4 cup sugar
3 eggs
2 tsp vanilla extract
1 16 oz can of homemade canned pumpkin
1 cup whole milk
2 1/2 cup flour
1 tsp cinnamon
1/2 tsp ginger
1/4 tsp nutmeg
2 tsp baking powder
1 1/2 tsp baking soda
1/4 tsp salt
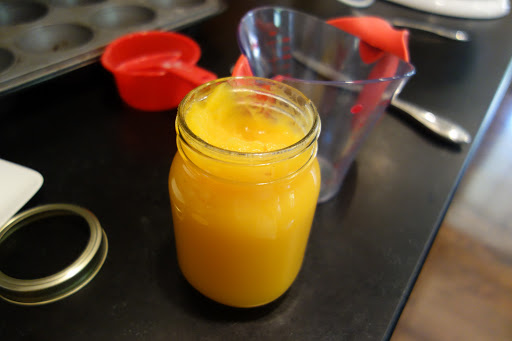 |
| My homemade canned pumpkin. I didn’t add any spices nor sugar into the canned pumpkin and it has a far thinner consistency from the store bought canned pumpkin. |
Directions:
1. Preheat the oven to 350 degrees F and place a small bowl of water on the bottom rack of the oven (this will make whatever you’re baking more moist). In a bowl, cream the softened butter with the sugar. Add your eggs in one at a time. Mix in the vanilla extract.
2. In a separate bowl or blender combine the pumpkin and the milk. Add the mixture to the creamed butter and sugar.
3. In another bowl, mix the flour, cinnamon, ginger, nutmeg, baking powder, baking soda, and salt. Add the flour mixture to the butte one tablespoon at a time continually mixing.
4. Fill either a bread pan (previously sprayed) or a cupcake pan with the batter. Bake cupcakes for 20 minutes. If you make bread it will probably take longer to bake. Use a toothpick to test for when the loaf is ready.
 |
| Notice the bowl of water on the bottom rack of the oven. This will make your cupcakes or bread more moist. |

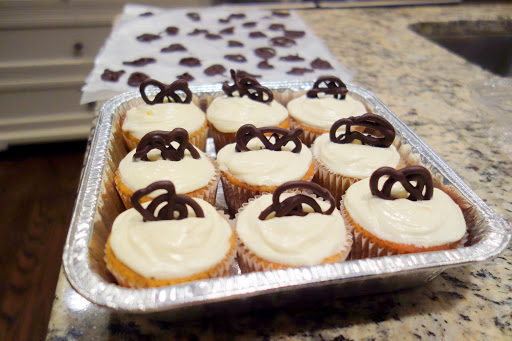
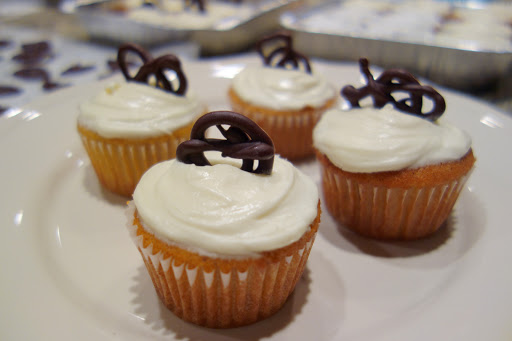
I used cream cheese icing for the cupcakes and made these little dark chocolate swirls to top them off. I did this by melting half a package of dark chocolate chips in a pot at low heat. I then transferred the chocolate into a plastic baggie, cut a small hole on one tip, and squeezed out random shapes onto wax paper. I then left the chocolate in the fridge over night to harden up. This was my first time trying out making these chocolate swirls, and I enjoyed it so much I’m sure I’ll be using this concept a lot more in the near future.
