Homemade Ricotta Cheese
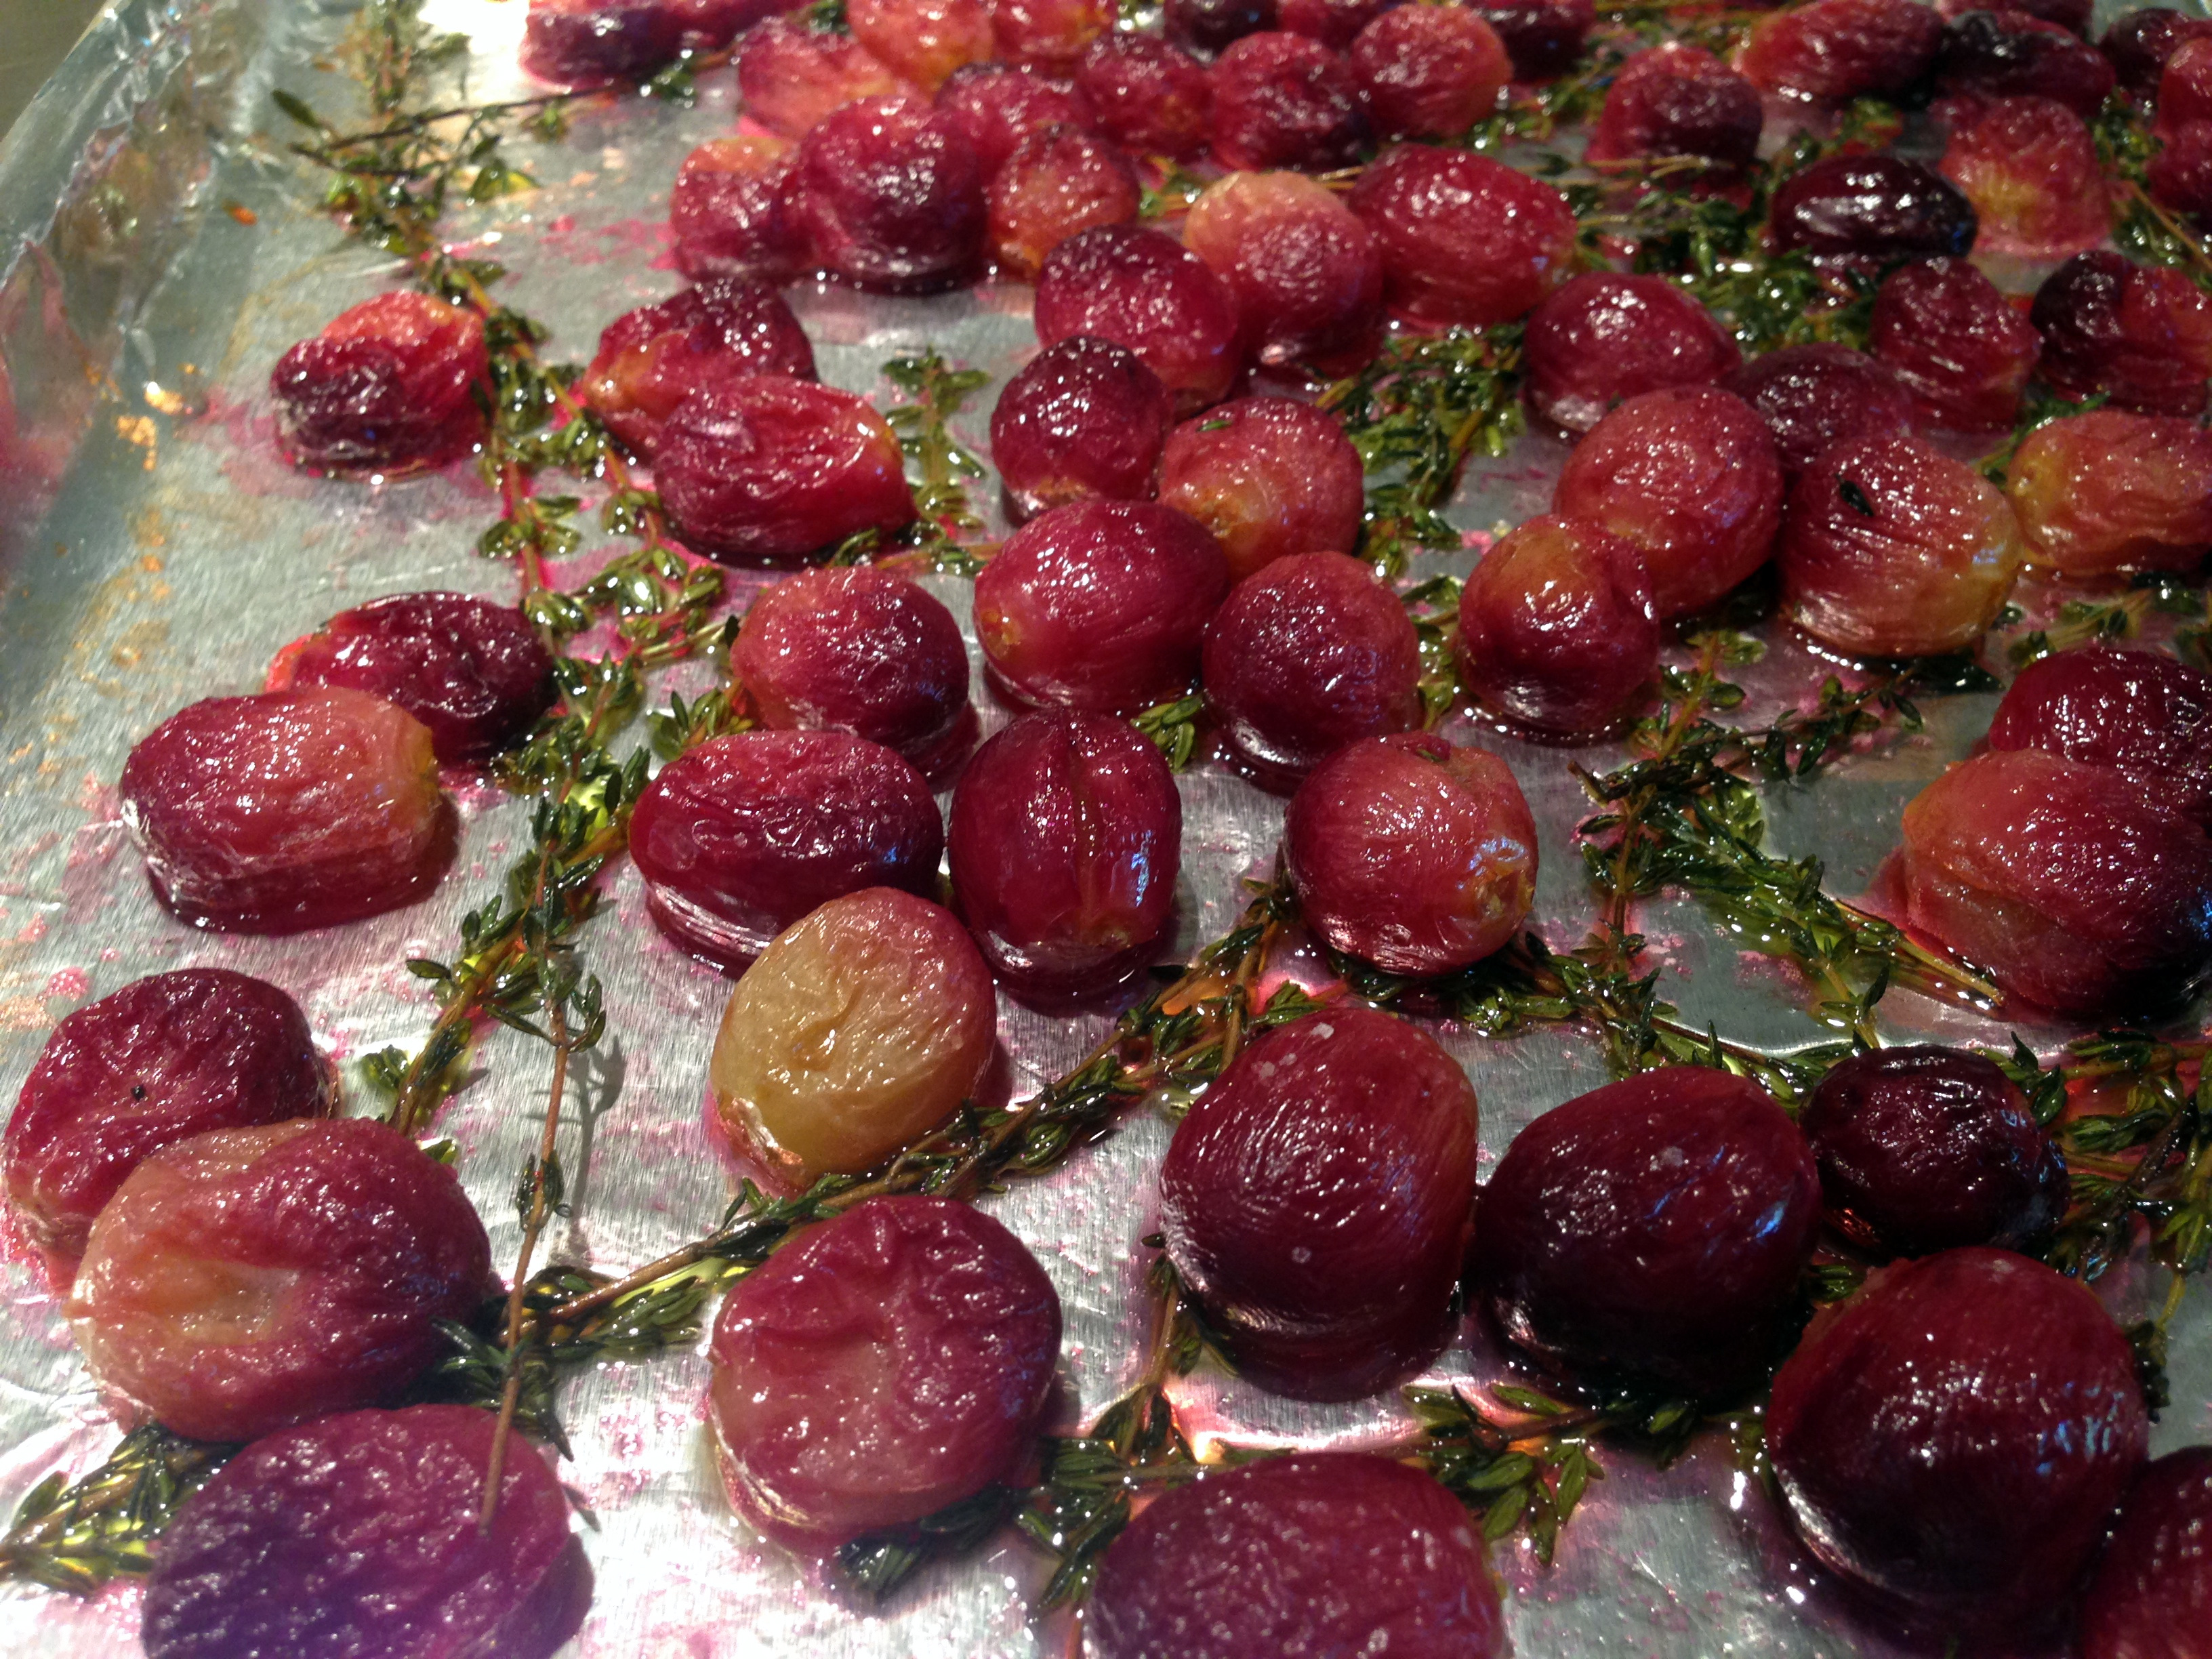
 Making homemade ricotta had been on my list for a long time. I finally got around to it for the first time a couple months ago and made it again with some adjustments for Easter last week. It’s so easy! Homemade cheese seems so intimidating, (perhaps other forms of cheese are) but making ricotta is really a piece of cake. I made the cheese a little different each time, and below is a recipe that worked best for me. The first time I made ricotta I used vinegar to curdle the milk, the second time I used lemon. I didn’t see any significant difference in the way the milk curdled so if you don’t have enough lemon, you can substitute the same amount of vinegar instead. Heavy cream is another ingredient I added the second time I made the cheese. It made the ricotta a bit creamier, but I’m not sure if that’s because of the extra fat in the heavy cream or because I made sure not to over-strain the cheese this time. My sister told me to try using buttermilk the next time I make ricotta cheese, I’ll update this post when I try that out. I served the ricotta cheese with some thyme-roasted grapes, a recipe I found on Alexandra Cooks blog.
Ingredients: (yields ~2 Cups)
1/2 Gallon Organic Whole Milk
1/2 Cup Heavy Cream
Salt
1/2 Cup Fresh Squeezed Lemon Juice (~2 lemons)
Garnish:
1/4 Cup Fresh Basil, chopped
Zest of 1 Lemon
1 TBSP Olive Oil, plus extra for drizzling
1 Garlic Clove, minced
Salt & Pepper, to taste
Directions:
1. Combine the whole milk and the heavy cream in a large pot with about 1 teaspoon of salt. Bring the milk to 185°F over medium-high heat, about 10-15 minutes. Stir the milk using a heat-resistant rubber spatula to prevent the milk from burning.
2. Once the milk reaches 185°F remove it from the heat and slowly stir in the lemon juice. Stir it slowly and lightly until the lemon juice is fully incorporated. Let the mixture sit undisturbed until it separate into curdles and whey (the translucent liquid). This will take about 5-10 minutes. Once separated, let the curdles rest for another 30 minutes.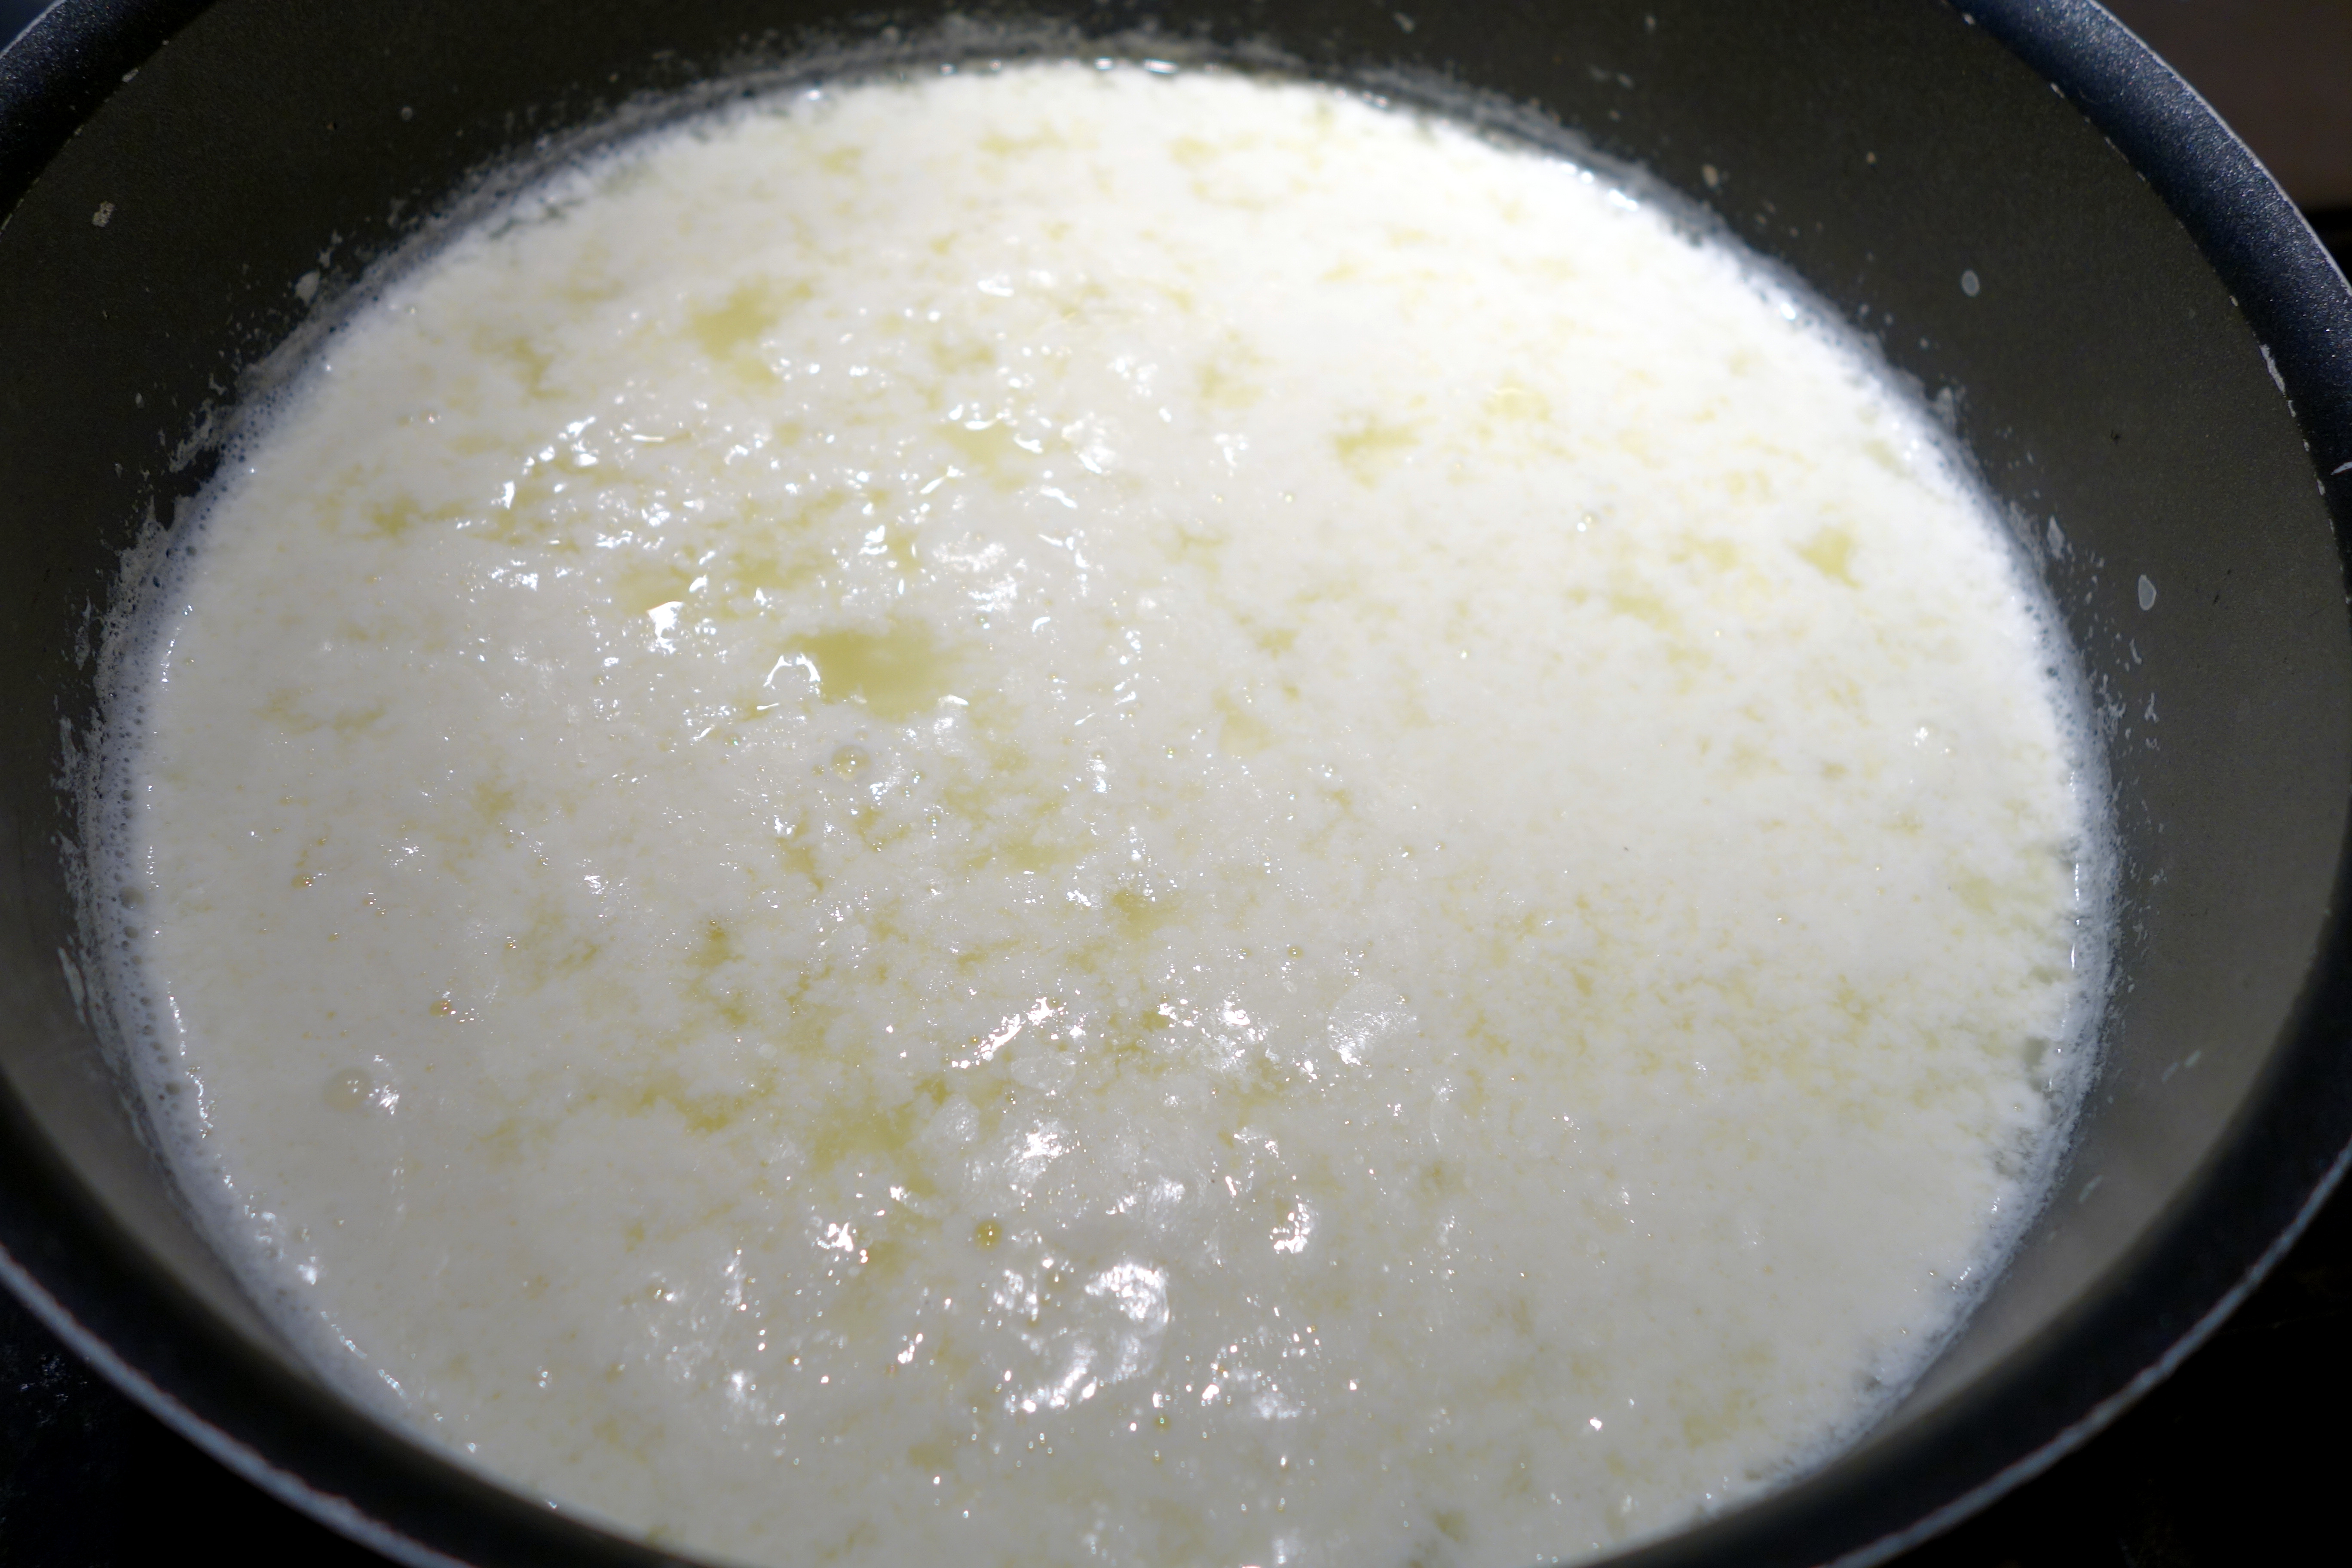
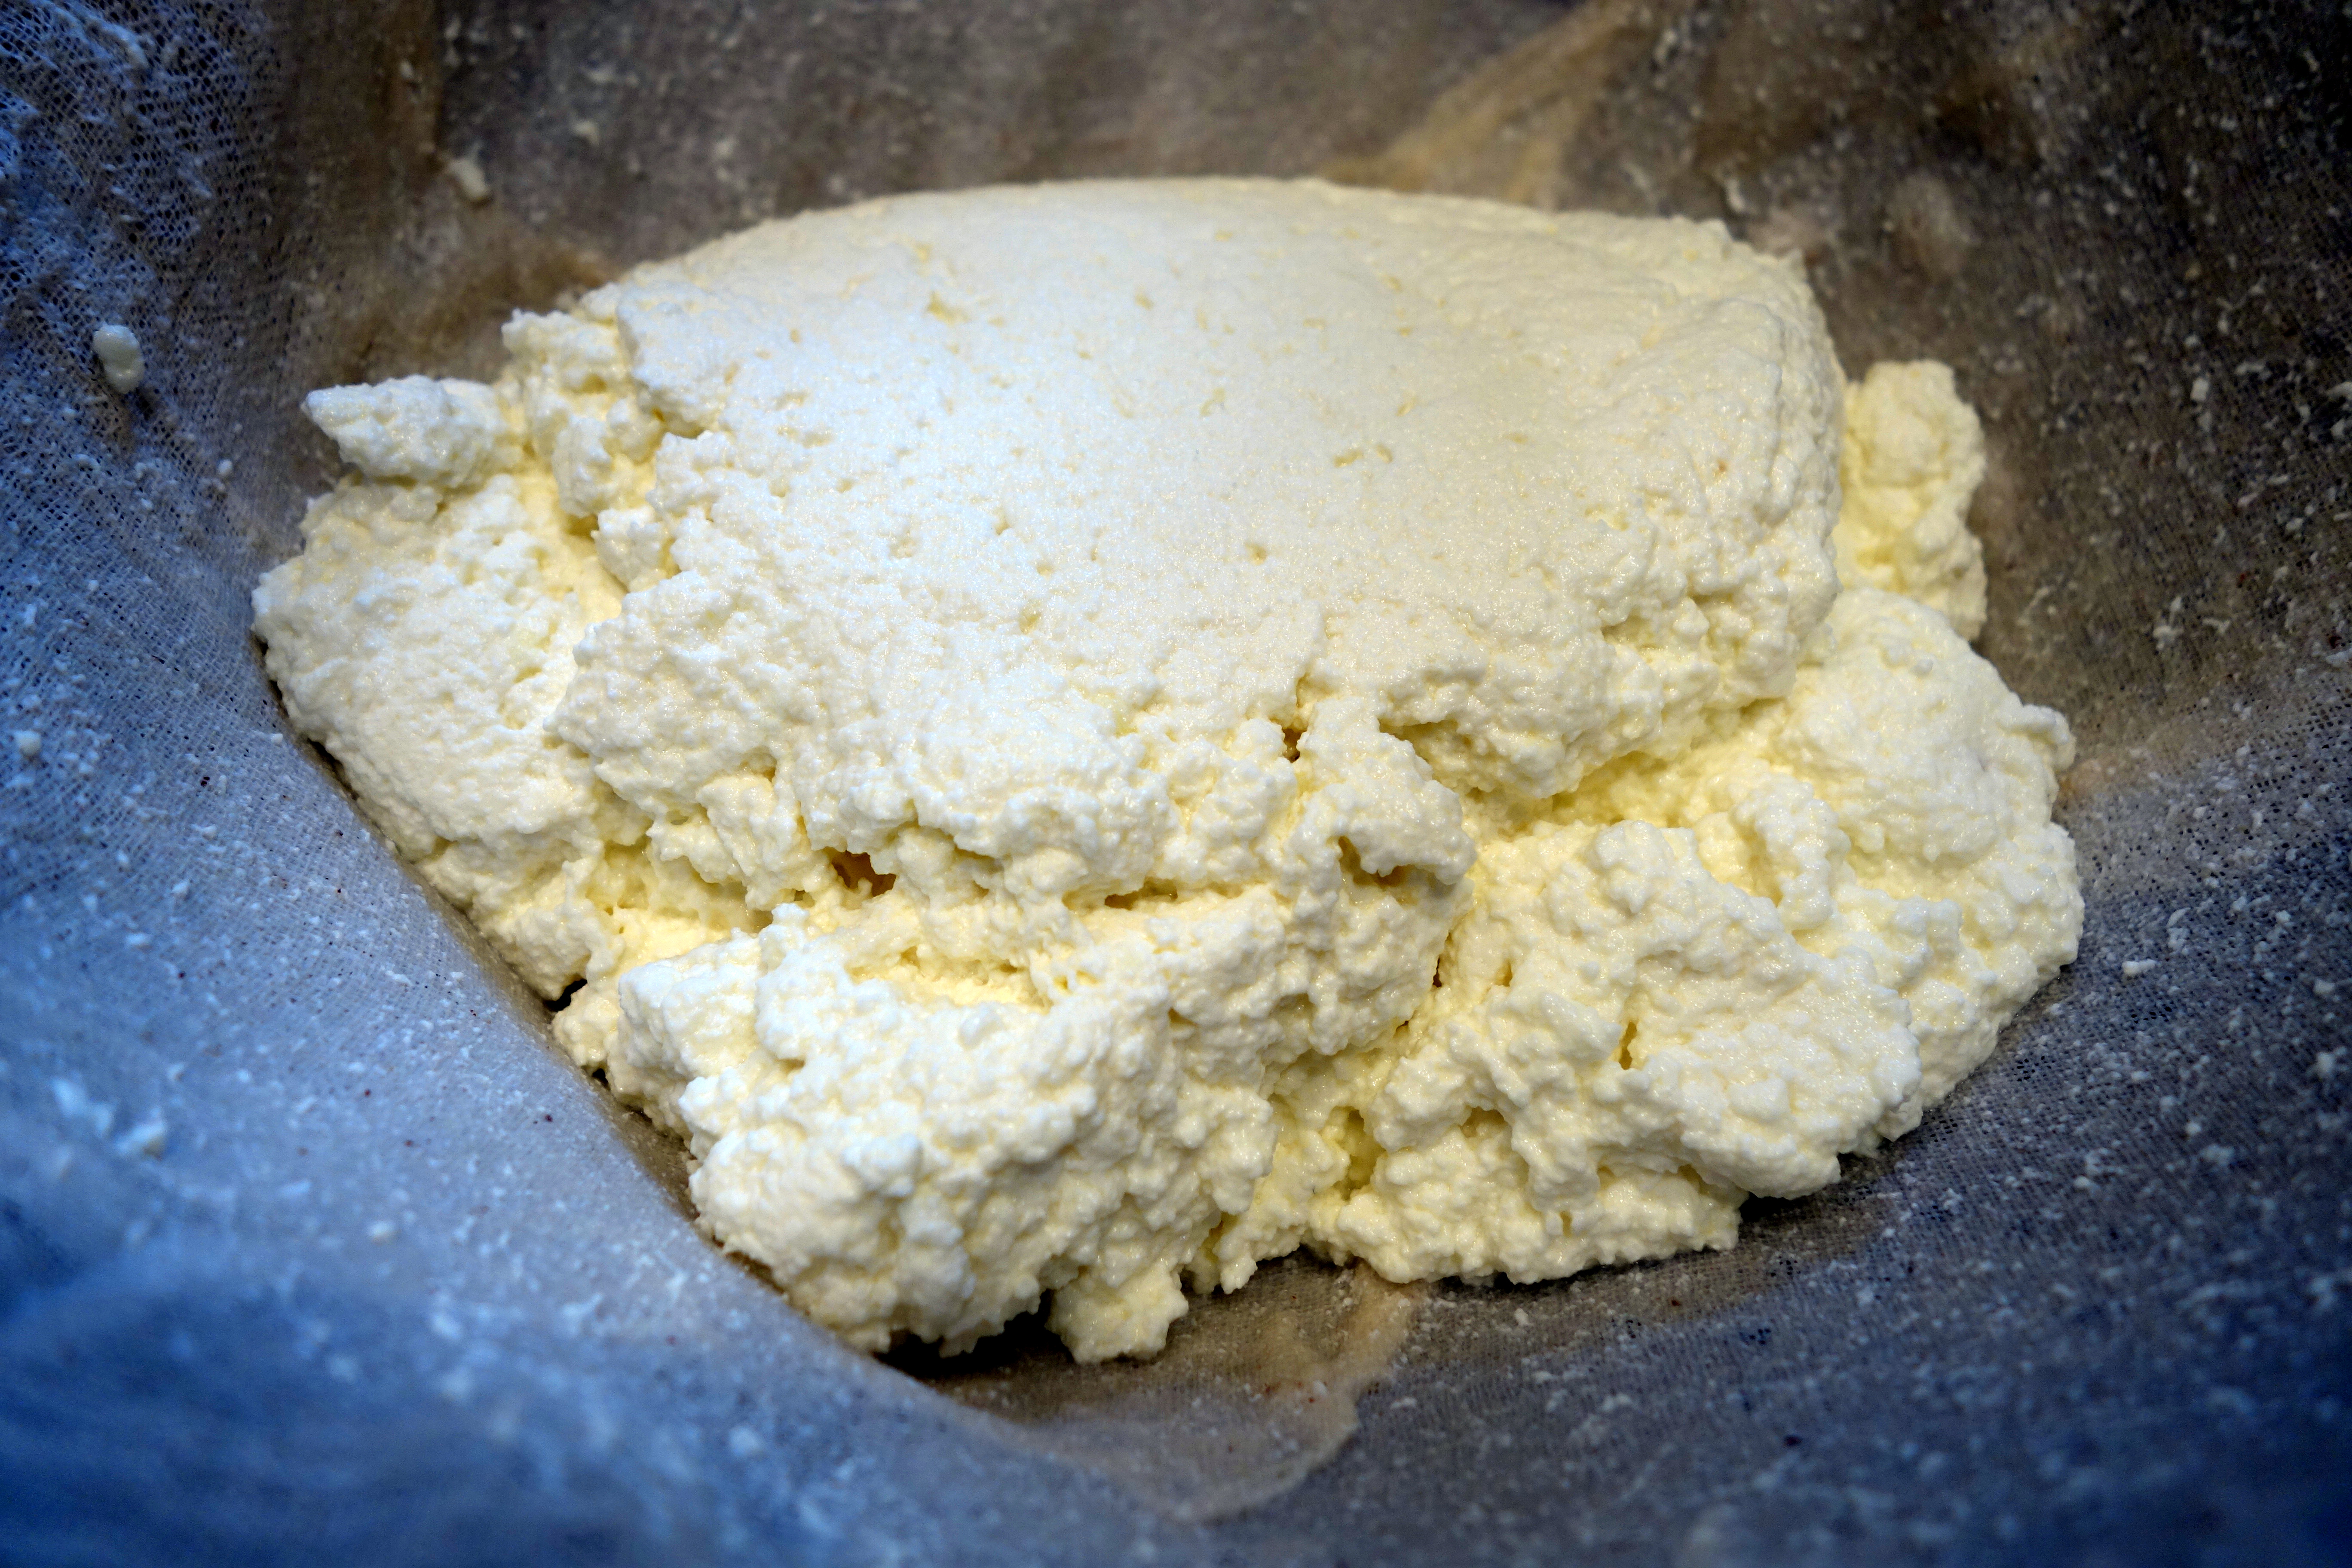
3. Line a colander with a double layer of cheese cloth and put it in the sink. Slowly pour the mixture into the colander. Let the cheese drain until the whey is no longer running freely, about 10 minutes. Don’t over-drain the cheese! It will get stiffer once you refrigerate it. Keep it wetter than you’re comfortable with, you can always drain more whey later if you need to. The first time I made the cheese I drained it too long and regretted it, It wasn’t as creamy and spreadable as I wanted it to be.
Transfer the cheese into a bowl, cover it with plastic, and refrigerate for at least 2 hours or up to 3 days.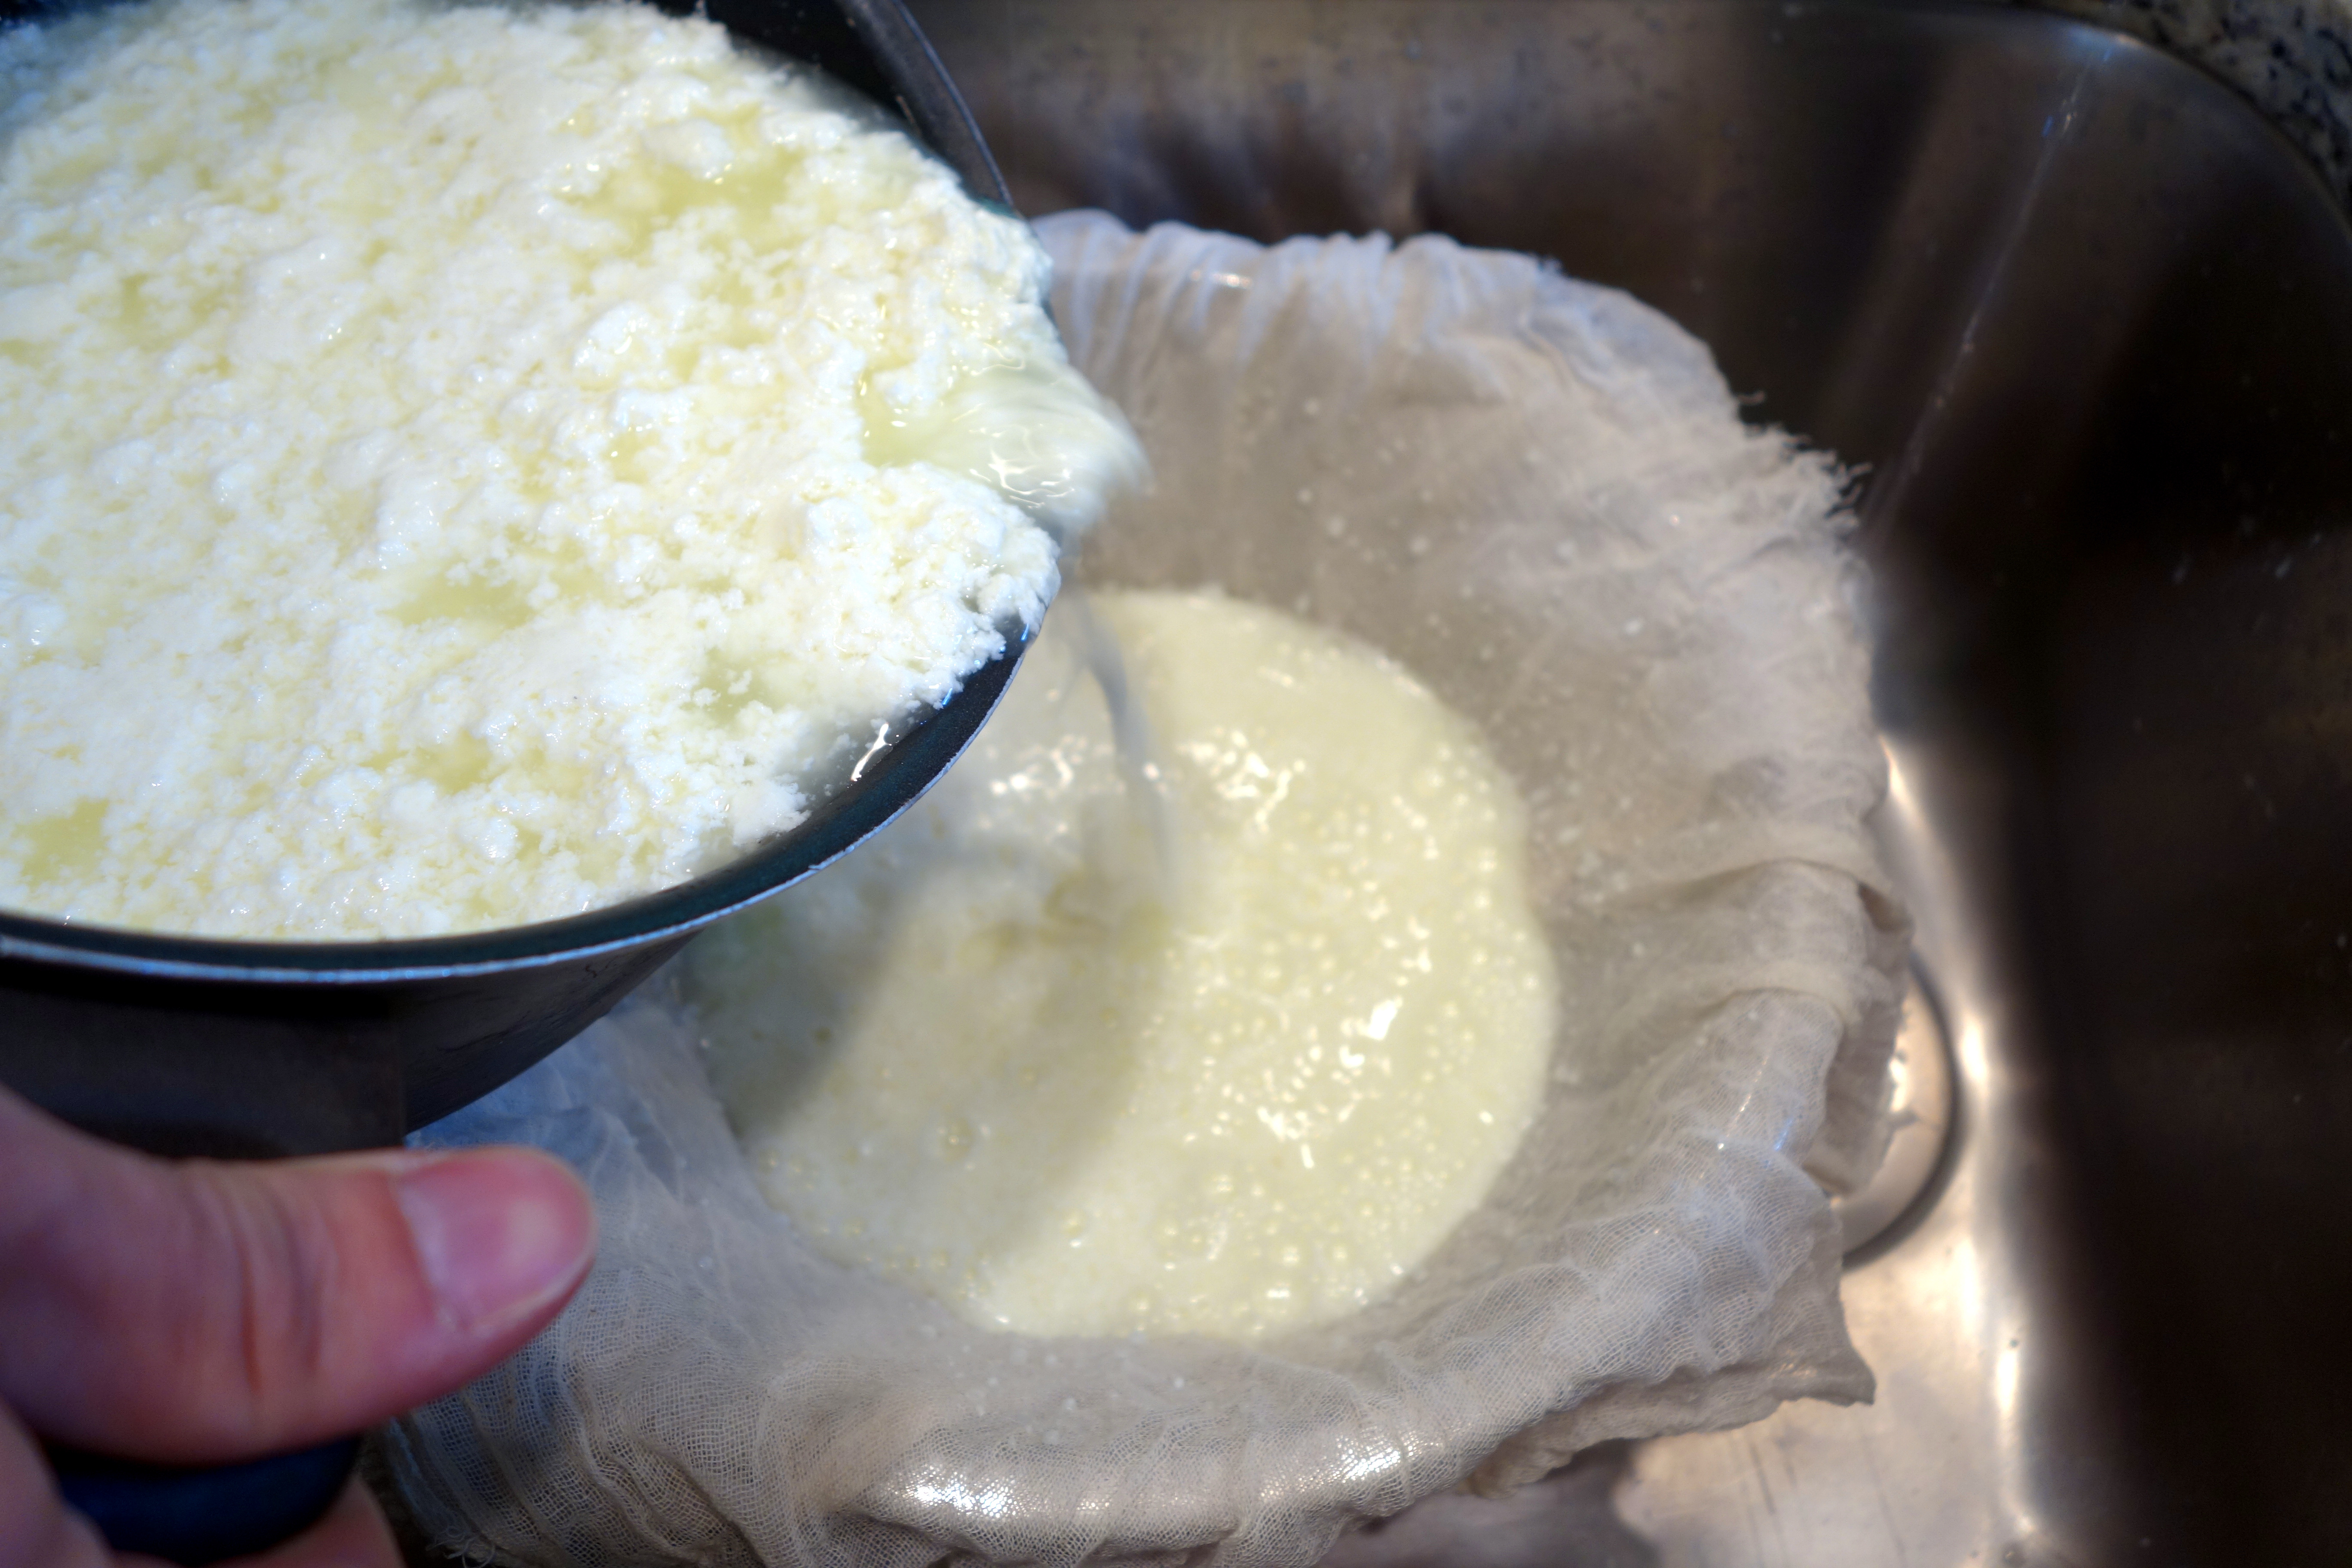
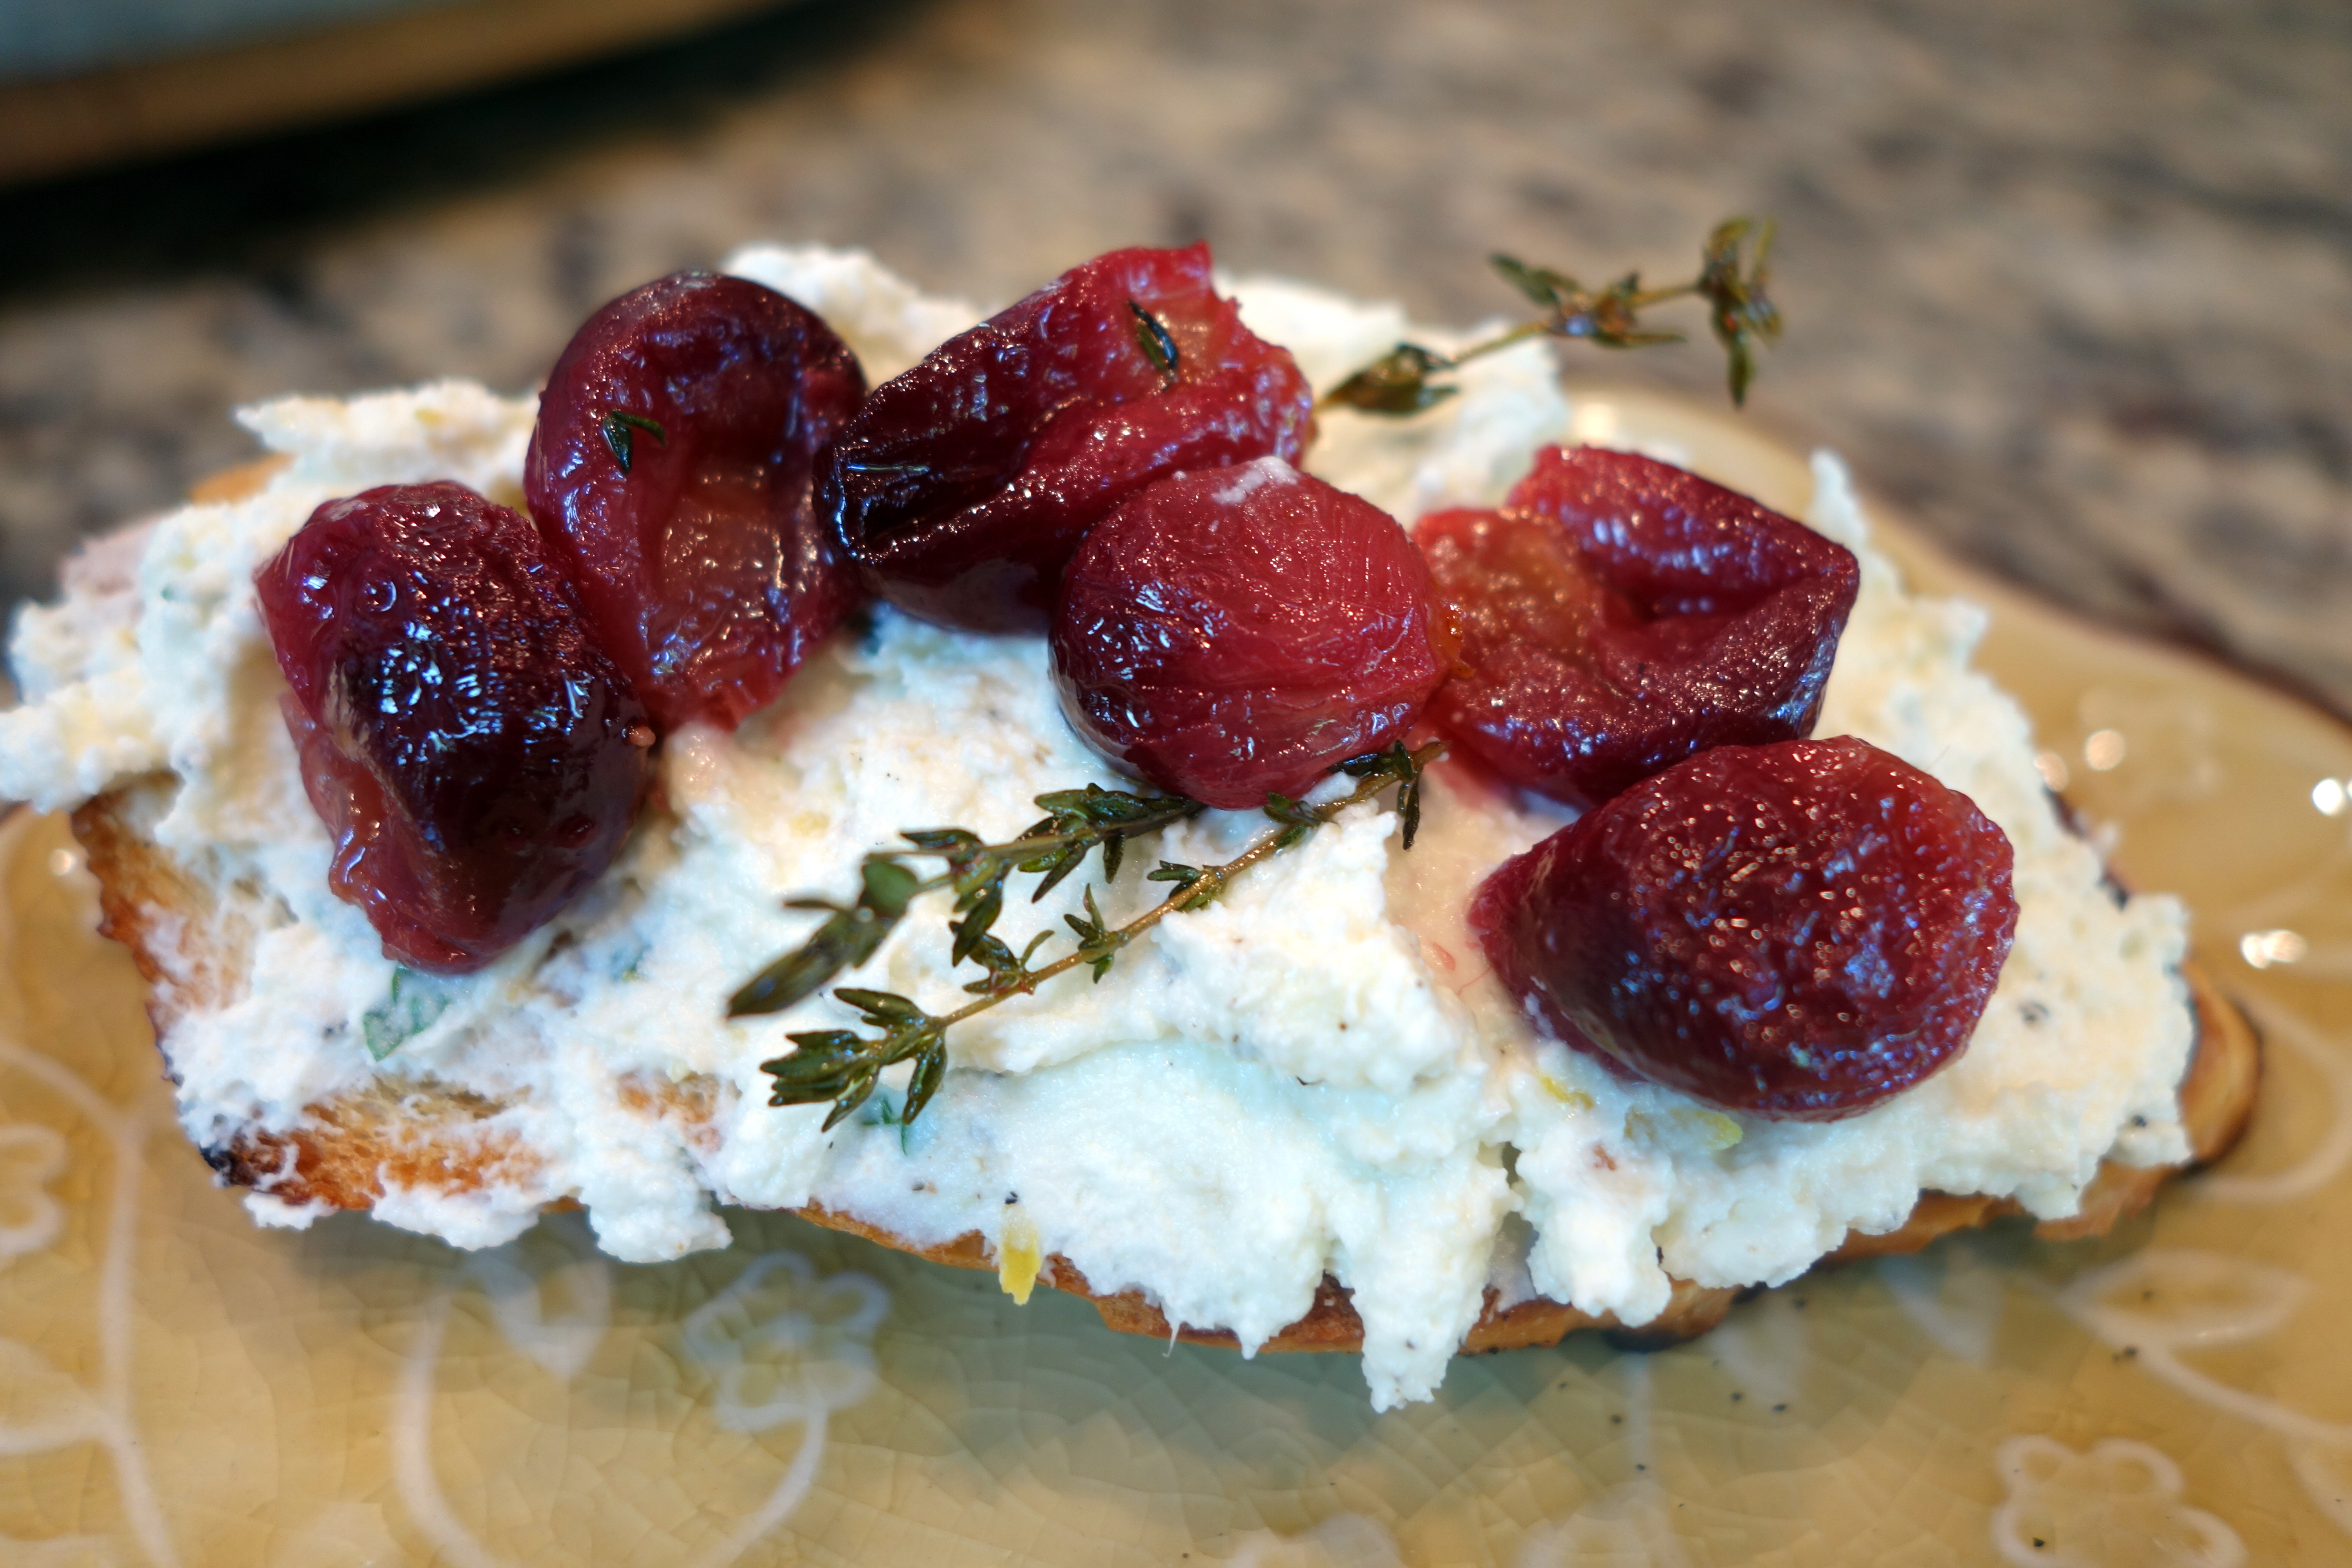
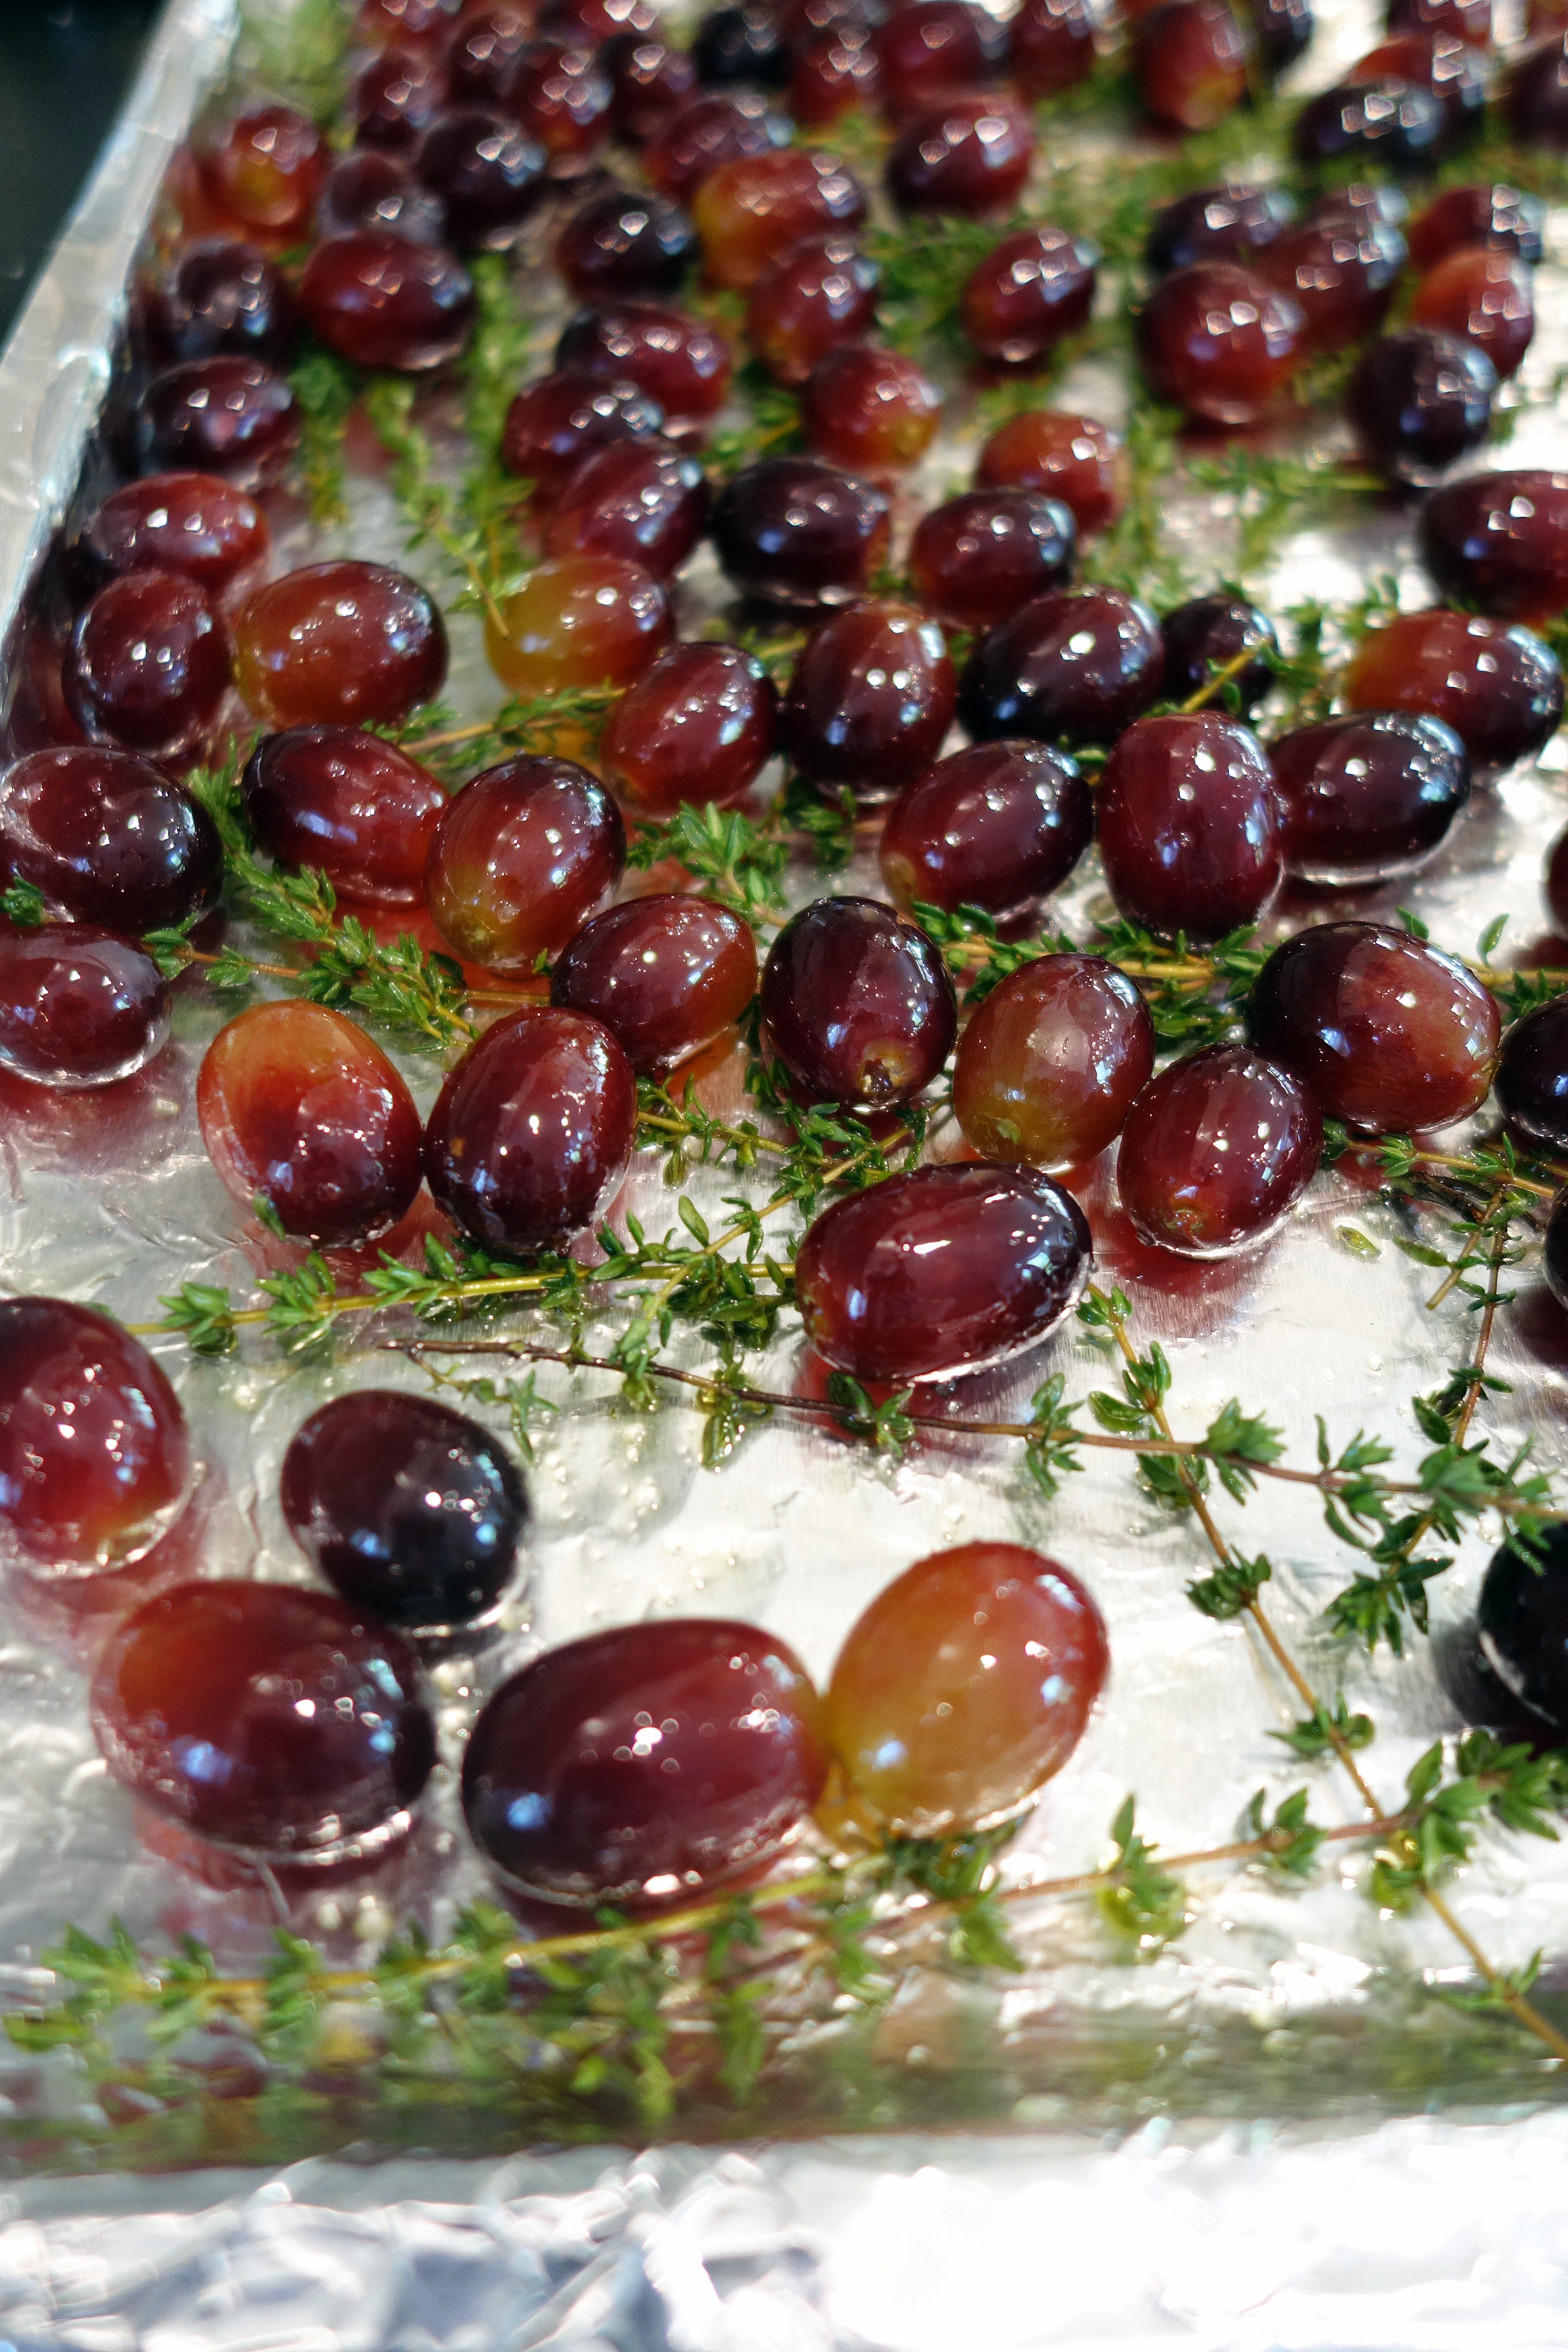
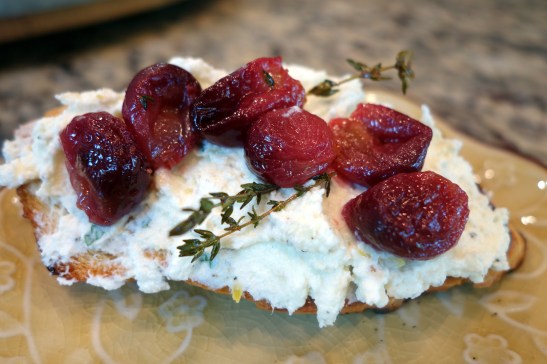
4. Before serving the cheese gently mix in the garnish ingredients, salt to taste, and serve with toasted bread and any other topping you’d like. I made a thyme-roasted grapes topping from Alexandra Cooks blog.


